This guide is Part 1 in a 3-Part series and will walk through setting up your Spark development environment. You can also check out Part 2 - Installation and Part 3 - Adding Components.
Part 1: Setting up Your Environment for an HTML Project
For instructions on setting up Spark in other environments, check out the guides for Angular and React development environments.
Before you begin, make sure you install Node Package Manager
(npm).
This is a tool that makes it easy to share and reuse JavaScript code and to update the JavaScript code you’re sharing.
Our starter app examples are also available for reference:
- 'kitchen-sink' branch (Spark Installed with component examples.)
- 'without-spark' branch (All of the prerequisites before Spark Installation.)
Create the Folder Structure
- First you’ll need to make a new directory for your project, open it
and initialize
npm.
mkdir spark-htmlcd spark-htmlnpm init
- When prompted, accept the default settings for
npm init. You can always edit these later.
- Confirm that it's generated a
package.json. This file keeps track of all the dependencies that your site needs to build and run.
Inside your
spark-htmlfolder, create asrcfolder and adistfolder.In the
srcfolder, create a file calledindex.jsand and add this code:
- A function that creates a div with text inside.
- Code that will add that div onto the page.
function component() {const element = document.createElement('div');element.innerHTML = 'Hello, Spark! JavaScript is working!';return element;}document.body.appendChild(component());
We do this because it's a way to check if we've hooked up our JavaScript correctly.
- In the
distfolder, create a file calledindex.htmlthat will reference thatindex.jsfile inside the<body>tag.
<html><head><title>Hello, Spark!</title></head><body><script src="../src/index.js"></script></body></html>
You should now have the initial files for your new site. The folder structure should look like this:

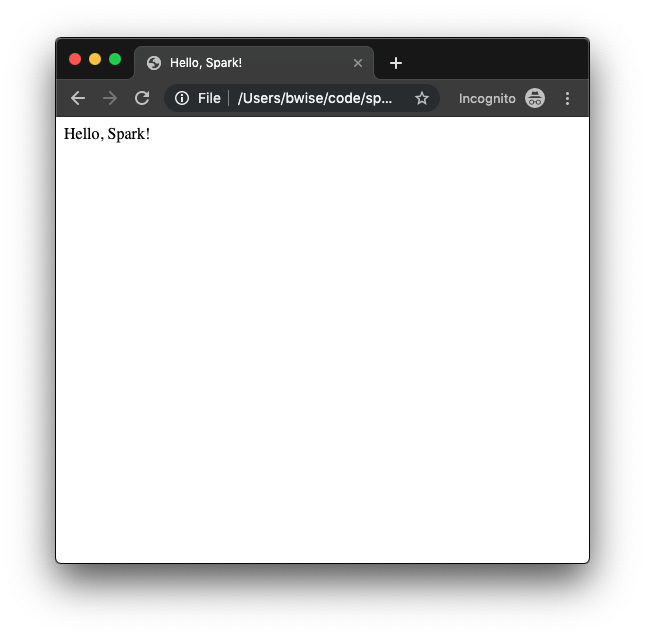
- Open
index.htmlin a web browser. You should whatever text you set in yourindex.jsfile.
Installing Webpack
Webpack combines all the JavaScript needed to run Spark into one file.- To install Webpack, run this command:
npm install webpack webpack-cli --save-dev
The
--save-devflag indicates that these packages are required to compile your website, but are not necessary to run the site after compilation.
- In your
package.jsonfile, look for thescriptssection. This is a list of custom commands thatnpmcan run. Add a new command for building the site with Webpack:
"scripts": {"build": "webpack --mode='development'"},
Webpack will combine all JavaScript into a single
file called main.js, so we'll need to reference that instead of index.js.
The
--mode='development'flag is so Webpack knows what configuration to build with. Change this as needed for your project.
- In
index.htmlchange the<script>that's usingindex.jstomain.js.
<script src="main.js"></script>
- Build your website.
npm run build
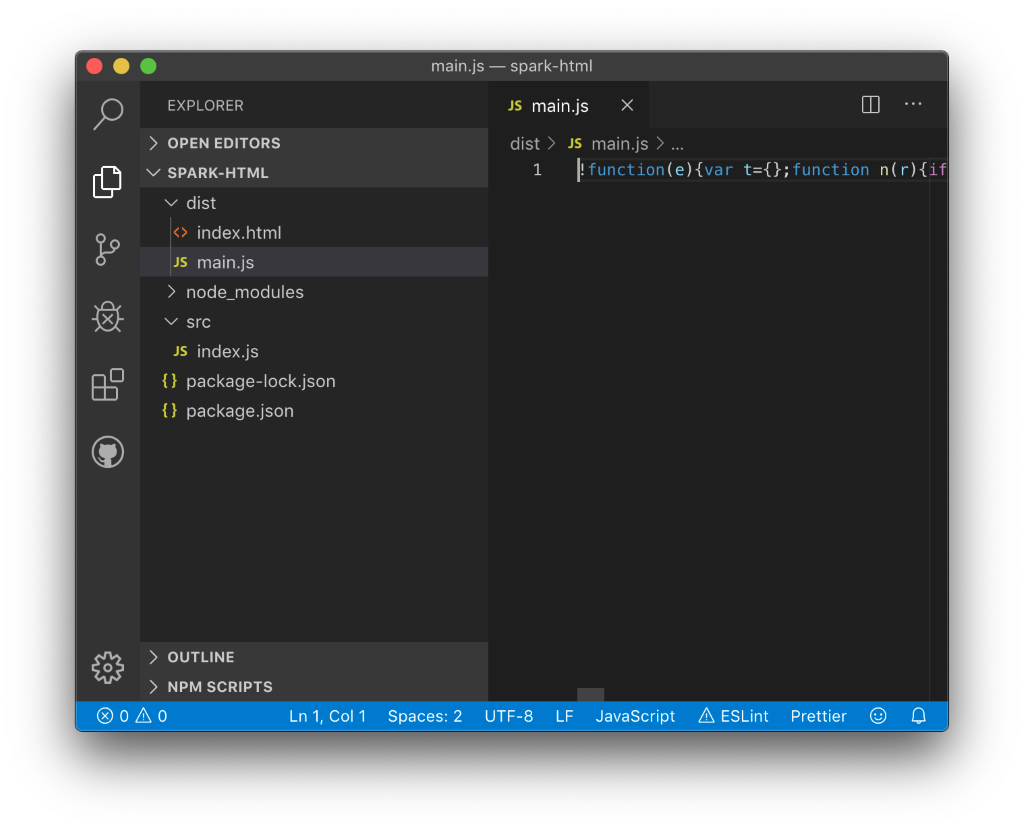
You should now see a main.js file in your dist directory
containing minified JavaScript.
For more help setting up Webpack, check out the Webpack Getting Started Guide.
Installing Sass
Sass is a tool that processes and compiles CSS. You'll need it to use Spark.- To install Sass, first run this command:
npm install node-sass sass-loader css-loader mini-css-extract-plugin --save-dev
- In the root directory of your project, create a new file called
webpack.config.jsand paste this code into it:
const MiniCssExtractPlugin = require('mini-css-extract-plugin');module.exports = {module: {rules: [{test: /\.s[ac]ss$/i,use: [MiniCssExtractPlugin.loader,'css-loader','sass-loader',],},],},plugins: [new MiniCssExtractPlugin({filename: 'bundle.css'}),],};
- Now let’s write some CSS to compile. Create a new file in
srccalledstyle.scssand copy this CSS into it:
body {background-color: green;}
- At the top of
index.js, add this reference to thescssfile:
import "./style.scss"
Now when Webpack compiles index.js, this import line will include
your style file. It will be processed according to the rules
we set up in the webpack config in the previous step.
- Add this reference to your new compiled CSS in the
<head>element ofindex.html:
<link rel="stylesheet" href="bundle.css"></link>
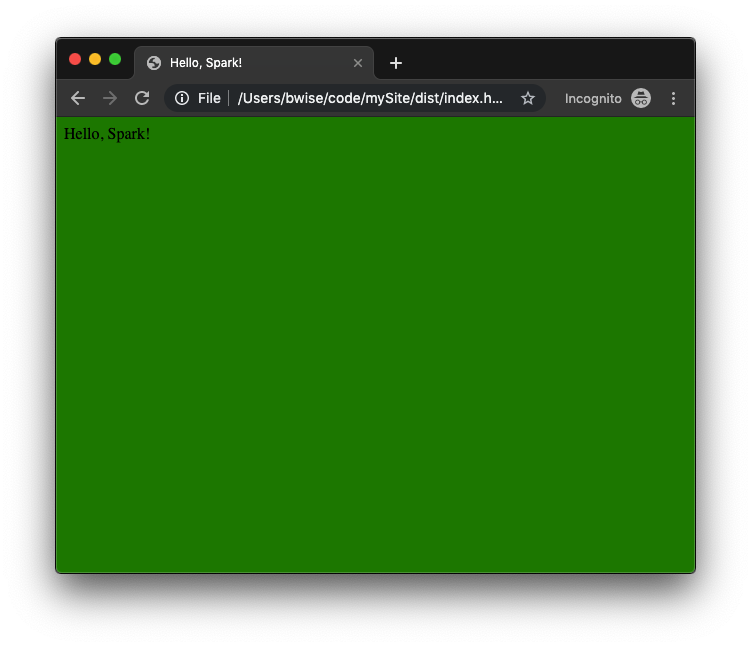
Now when you rebuild your site, you should see bundle.css in the
dist folder and your website should include your style:
For more help setting up Sass, check out the Sass Getting Started Guide.
Next Steps
You now have a development environment set up and ready to install Spark! Check out Part 2 - Installation.